
Getting a great finished product isn’t always easy. I like to think of these processes the same way you might think of a meticulous old machinist or a pilot going through his checklist.
Working through these things slowly and methodically will help you achieve better results.
Let’s get started, shall we? My first piece of advise is to treat every job like it is the first job you are ever doing. Be slow and work purposely making sure not to forget ANYTHING. Let’s roll!
1. Inspect the piece you intend to etch on. Make sure it is smooth, flat, sanded, has an even coating of whatever you put on it and is prepped to your satisfaction. Poorly prepped parts will spoil your final product.
2. Second of all you need a GOOD, FLAT, SECURE surface. Etching a grid on it is really beneficial for keeping your work piece straight. Cut on a waste board and clamp that board down to your work surface if you can.
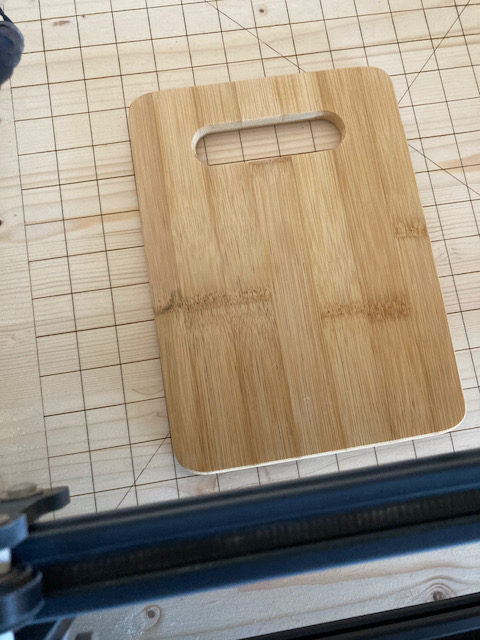
Use Your Grid Lines!
3. Focus, Focus, Focus. However you do it. With a digital microscope, a focus block, by eyesight. Don’t forget to focus. In the short time I have been doing this I have screwed up a few pieces by forgetting my lens was way up and out of focus. Usually nothing sandpaper can’t fix, but still.
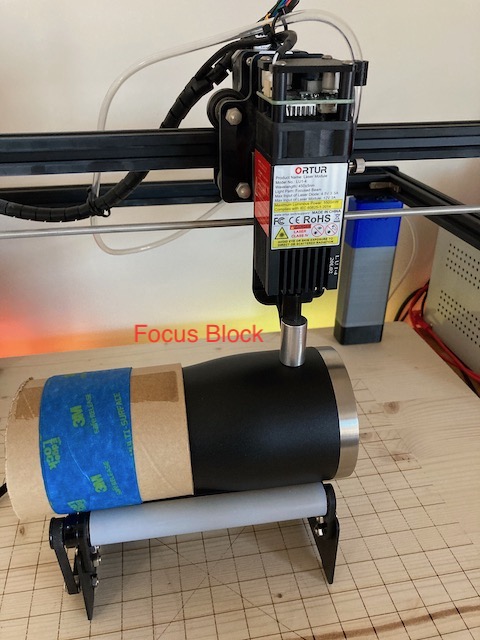
Focus Block Installed
4. CHECK ALL OF YOUR SETTINGS! A really common mistake I make is that when setting up the cut I forget to look at the number of passes the laser will make because I am too keyed in on the speed and laser intensity percentage. I ruined a tumbler the other day because it was set to two passes and the passes didn’t line up perfectly.
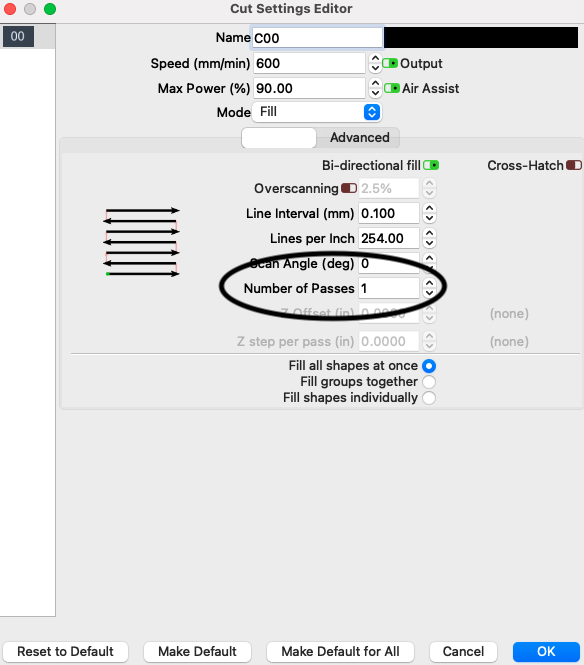
Number of Passes
5. Frame it before cutting. Frame it, and then frame it again. Once you are happy. Frame it one more time. You do that by holding the Shift key while hitting the frame button.
6. Make sure your air assist is on if you intend to use it. I power mine from a Jackery portable power supply and sometimes I go “WHOOPS” and start it late.
7. Double check items 1-6. Think about what is going to happen when you push start.
8. Push Start. But lets talk about that start button, shall we? If you push start and then go inspect your work the cursor STAYS OVER THE START BUTTON.
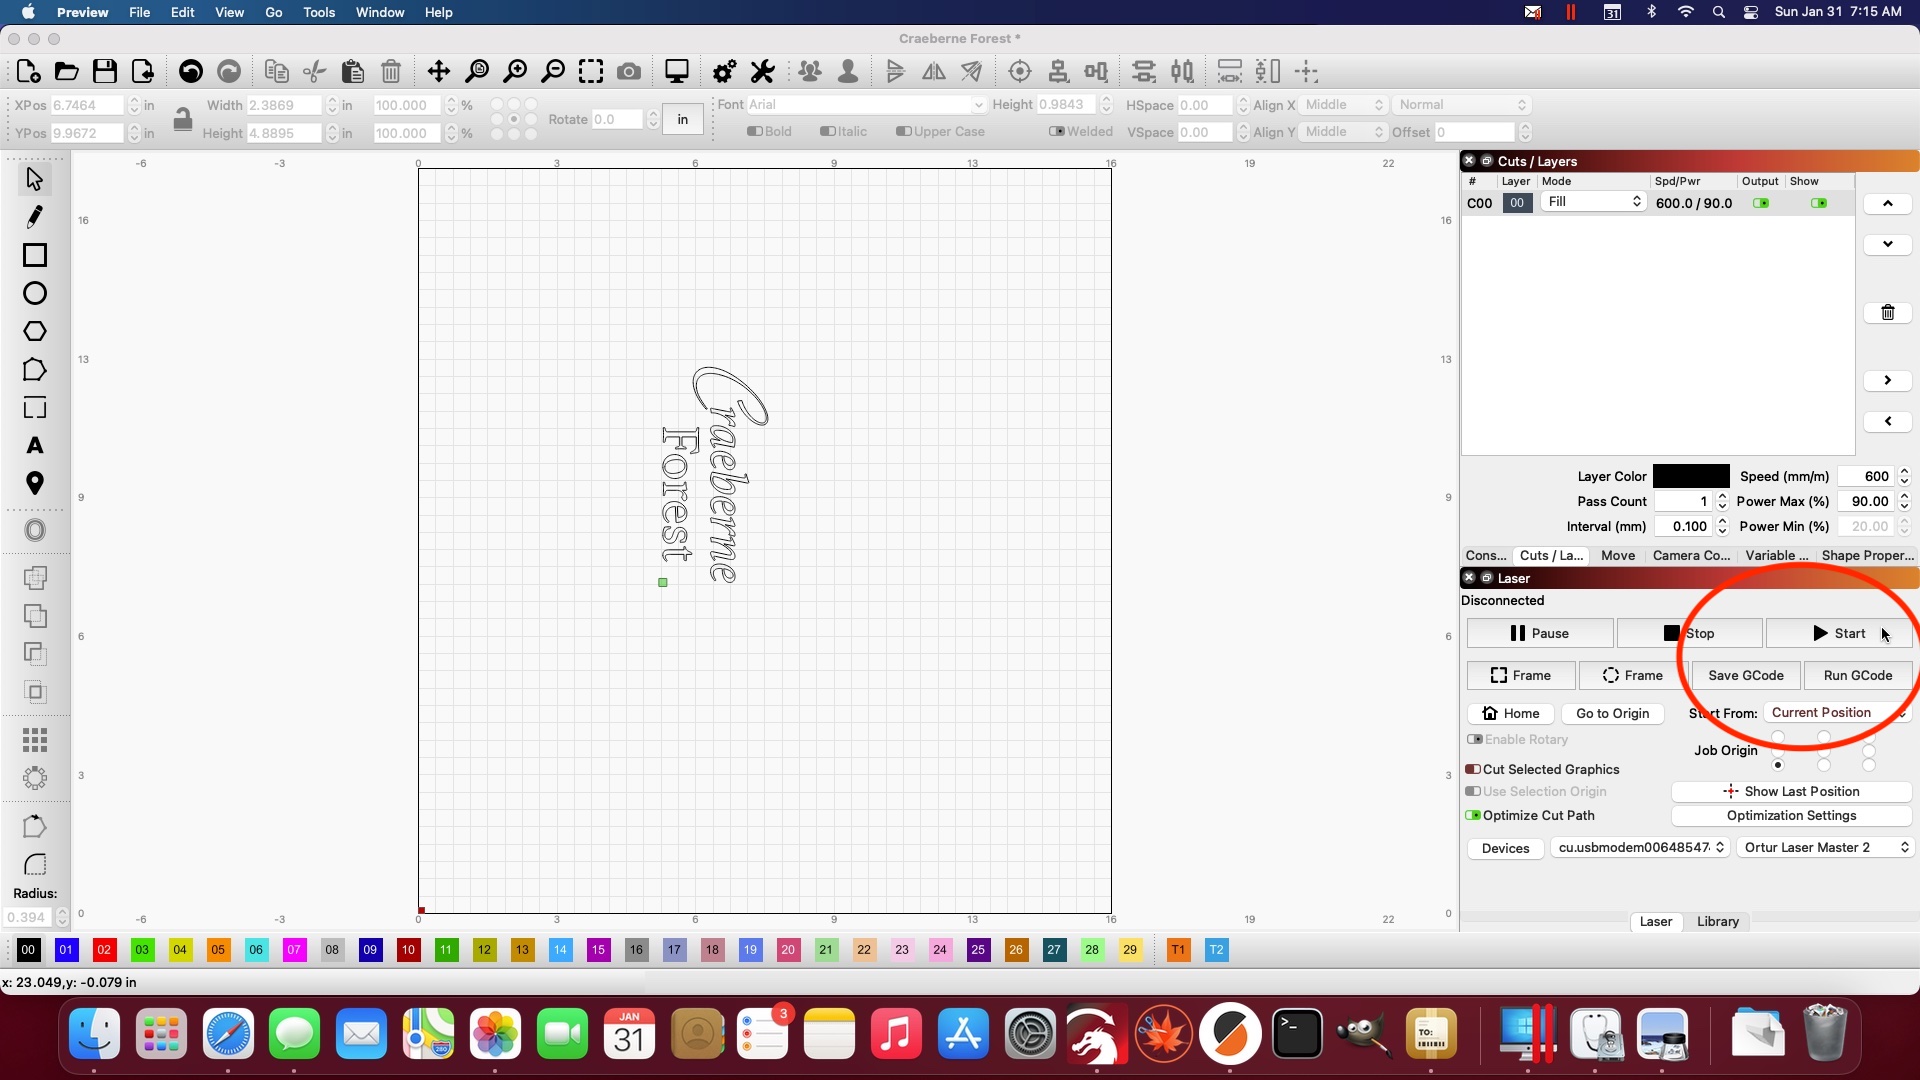
Cursor Stays On Start Button
I HAVE AT LEAST 3 OR 4 TIMES ACCIDENTALLY RE-STARTED THE JOB AFTER COMPLETION OF THE JOB JUST BY TOUCHING THE MOUSE OR TRACKPAD. YOU HAVE BEEN WARNED. MOVE THE CURSOR AFTER YOU START THE JOB. YOU WILL THANK ME.
8. Don’t touch anything. Resist the urge to get too close to the machine. If things are going wrong just stop the job. If you are working on wood it is probably nothing an orbital sander won’t fix. Keep a strong flashlight nearby so you can inspect the job progress from a step or two away. It’s hard to see anything while wearing laser glasses.
9. If you do ruin a piece of material, all is not lost. Use any space on that piece to experiment with speeds, intensities, focus, whatever. Write notes in sharpie on the part. It really sucks to ruin a piece, but it happens and you should just smile and make the best of it and use that left over real estate to hone your craft and your skills.
With careful planning and thought you can produce some top quality products no matter how complicated the setup.