
Problem: My Camper battery was dying every 3 to 5 days.
The absolute worst thing you can do for a lead-acid battery is to drain it below 50% of it’s fully charged state. It greatly reduces the number of battery cycles you can obtain if not outright KILLS THE BATTERY.
So I got a deep cycle AGM battery after I KILLED ANOTHER BATTERY. The AGM battery can be discharged to about 20% remaining capacity without reducing the number of cycles or KILLING THE BATTERY.
Even with the new battery after about 4 days the AGM battery would be at about the 50% state. I paid almost $300 for that battery and I ain’t killing this one. It’s a real PAIN IN THE A** to hook a charger up every few days and even worse in my garage. I won’t go into that but I don’t have enough outlets, something else gets unplugged and backing the truck over the extension cord (which you aren’t supposed to use with a charger) always causes problems.
Why does the battery drain? Two words. PARASITIC DRAIN.
A parasitic drain is all that stuff that stays on just because it is connected. The LED clock in the radio. Heck my camper radio looks like the Griswald’s at Christmas. The backlight on the thermostat can, and does, come on. The gas detector, the fire detector, and finally the blue LED lights around the USB charging outlet all are parasitic and just keep sucking the electrons out of the battery.
SOLUTION: BATTERY SWITCH.
I bought this switch from Amazon and now I can just cut the power to the camper. A fully charged AGM deep cycle battery with no load applied will stay charged a LONG time. Like up to a year I think.
It was simple to install as well. I had some extra space in the battery box so I drilled a 2 5/8″ (67mm) hole in the box using a hole saw.
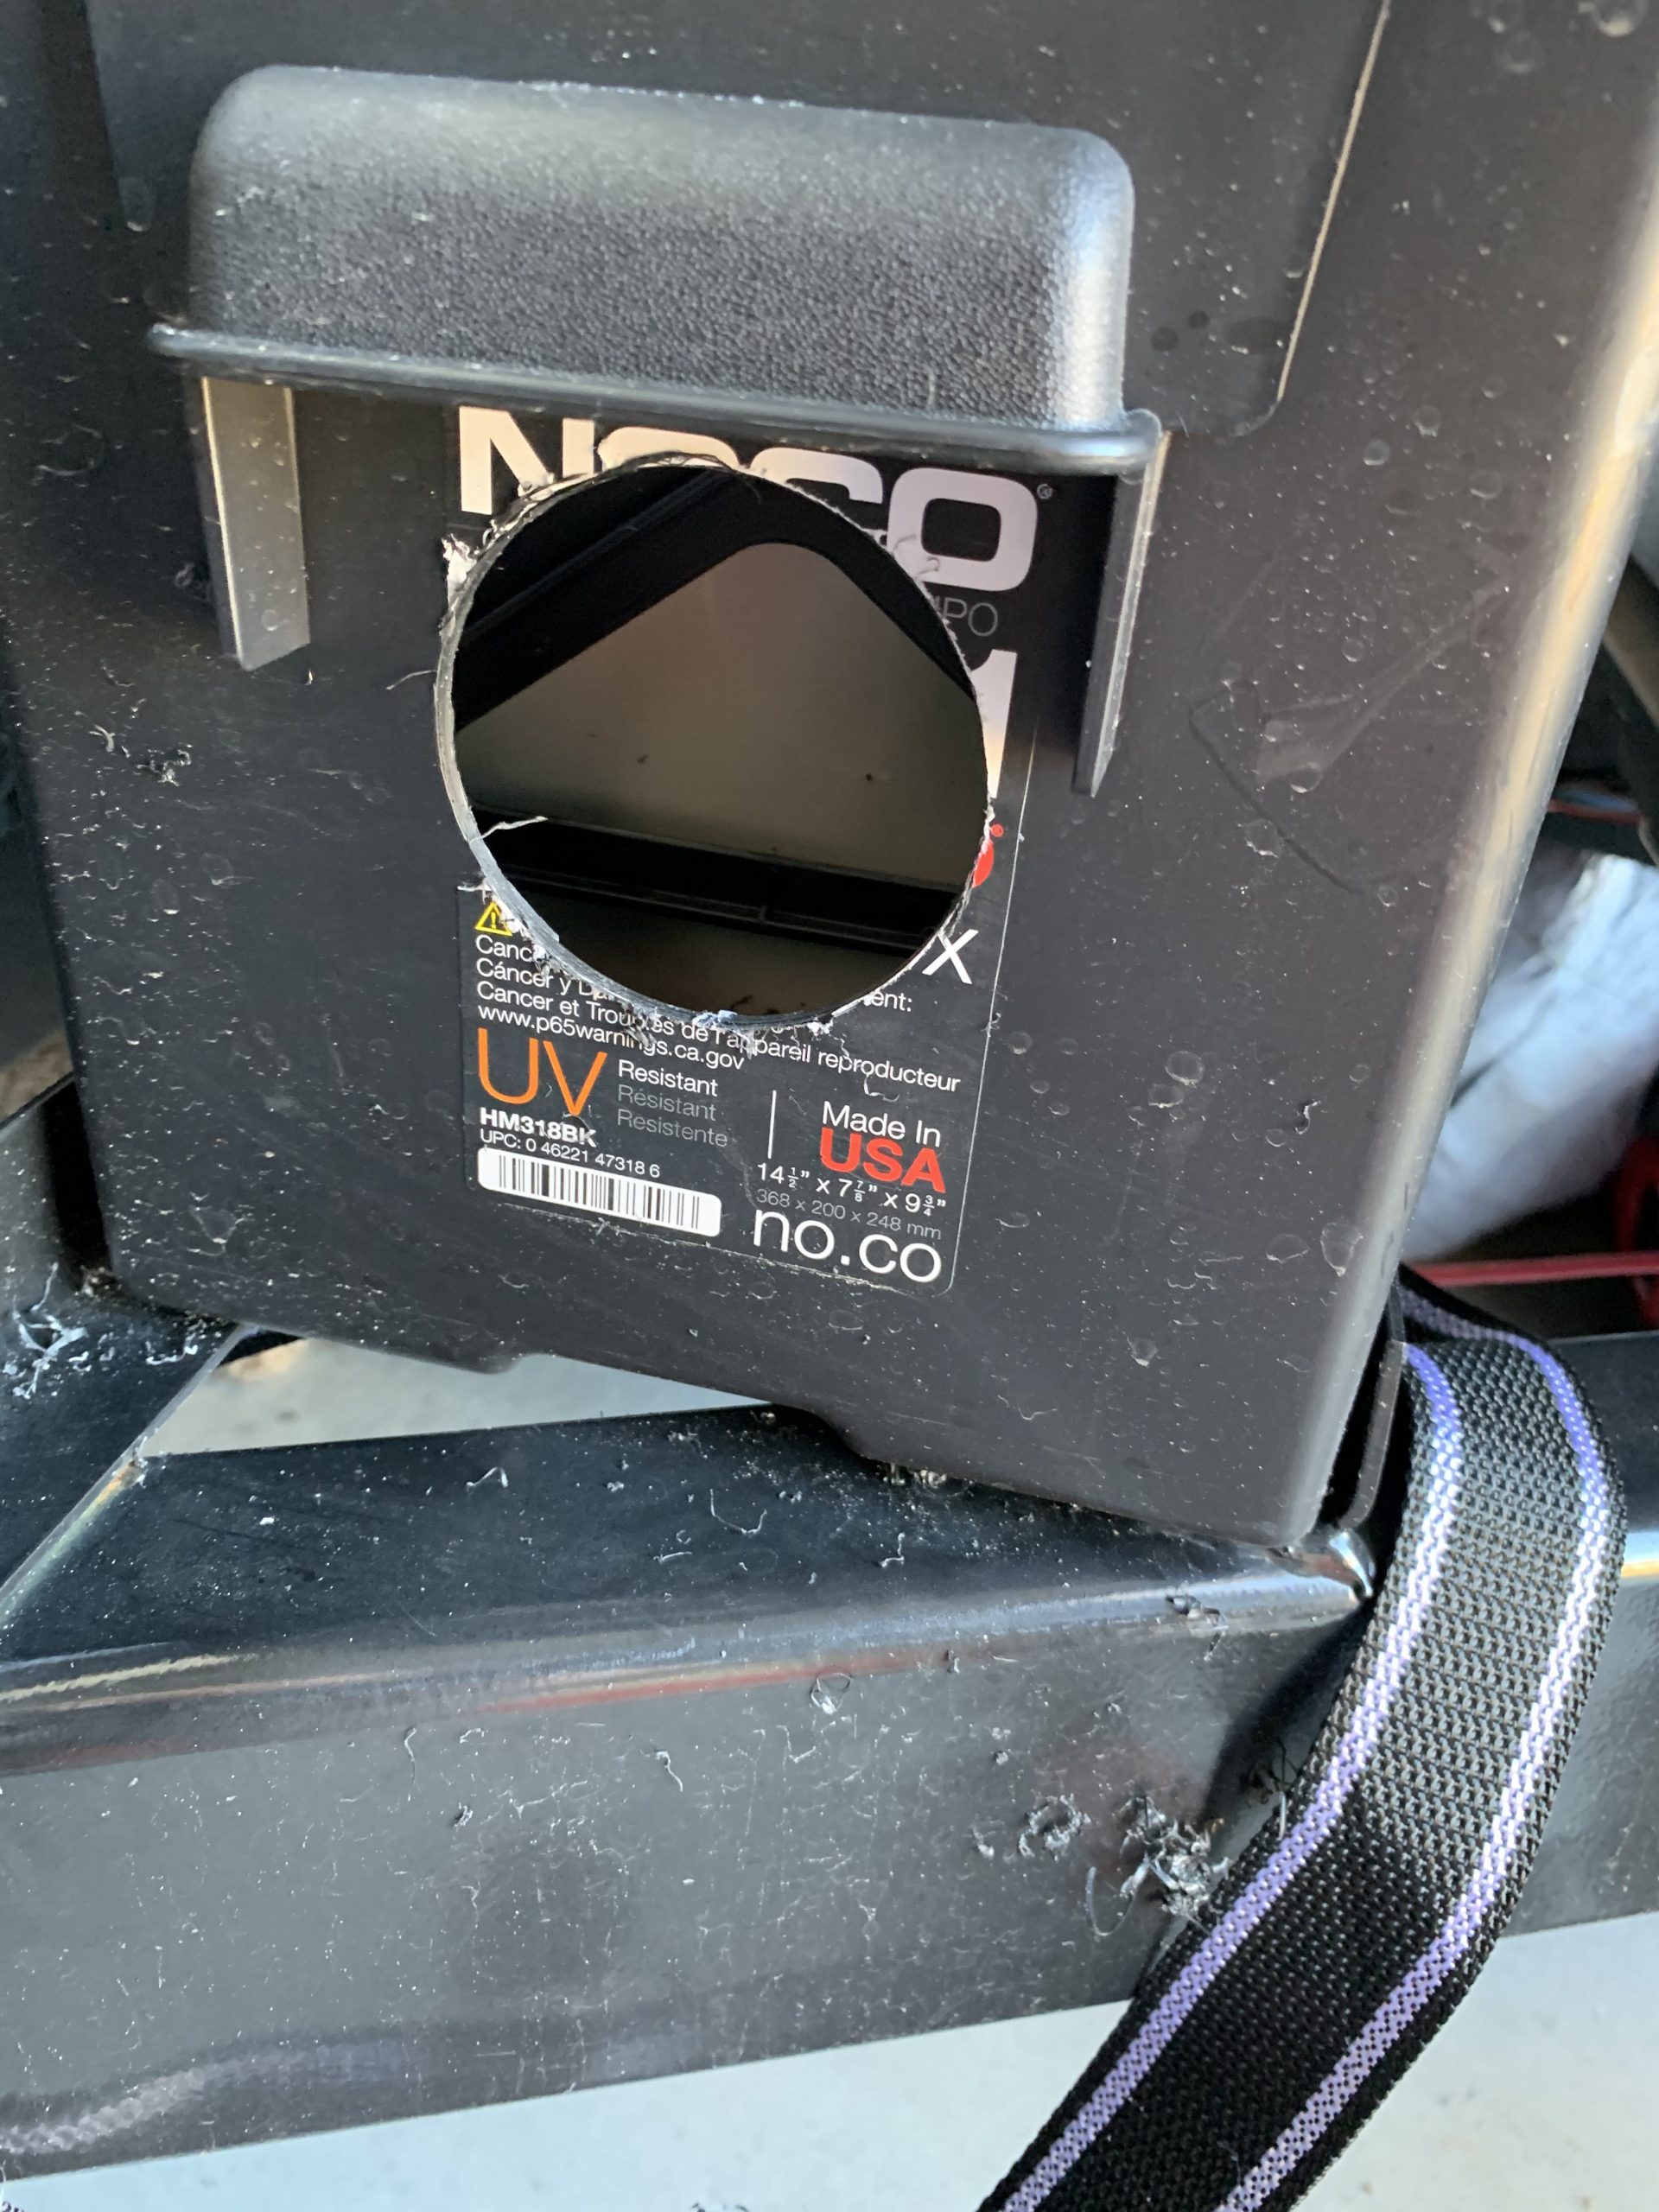
67mm hole in battery box
Then I mounted the switch with 10/24 hardware and nylon locking nuts. The two red wires which hooked to the battery before are not connected to the OUTPUT on the switch and I installed a 2 gauge wire from the INPUT side of the switch to the battery positive terminal.
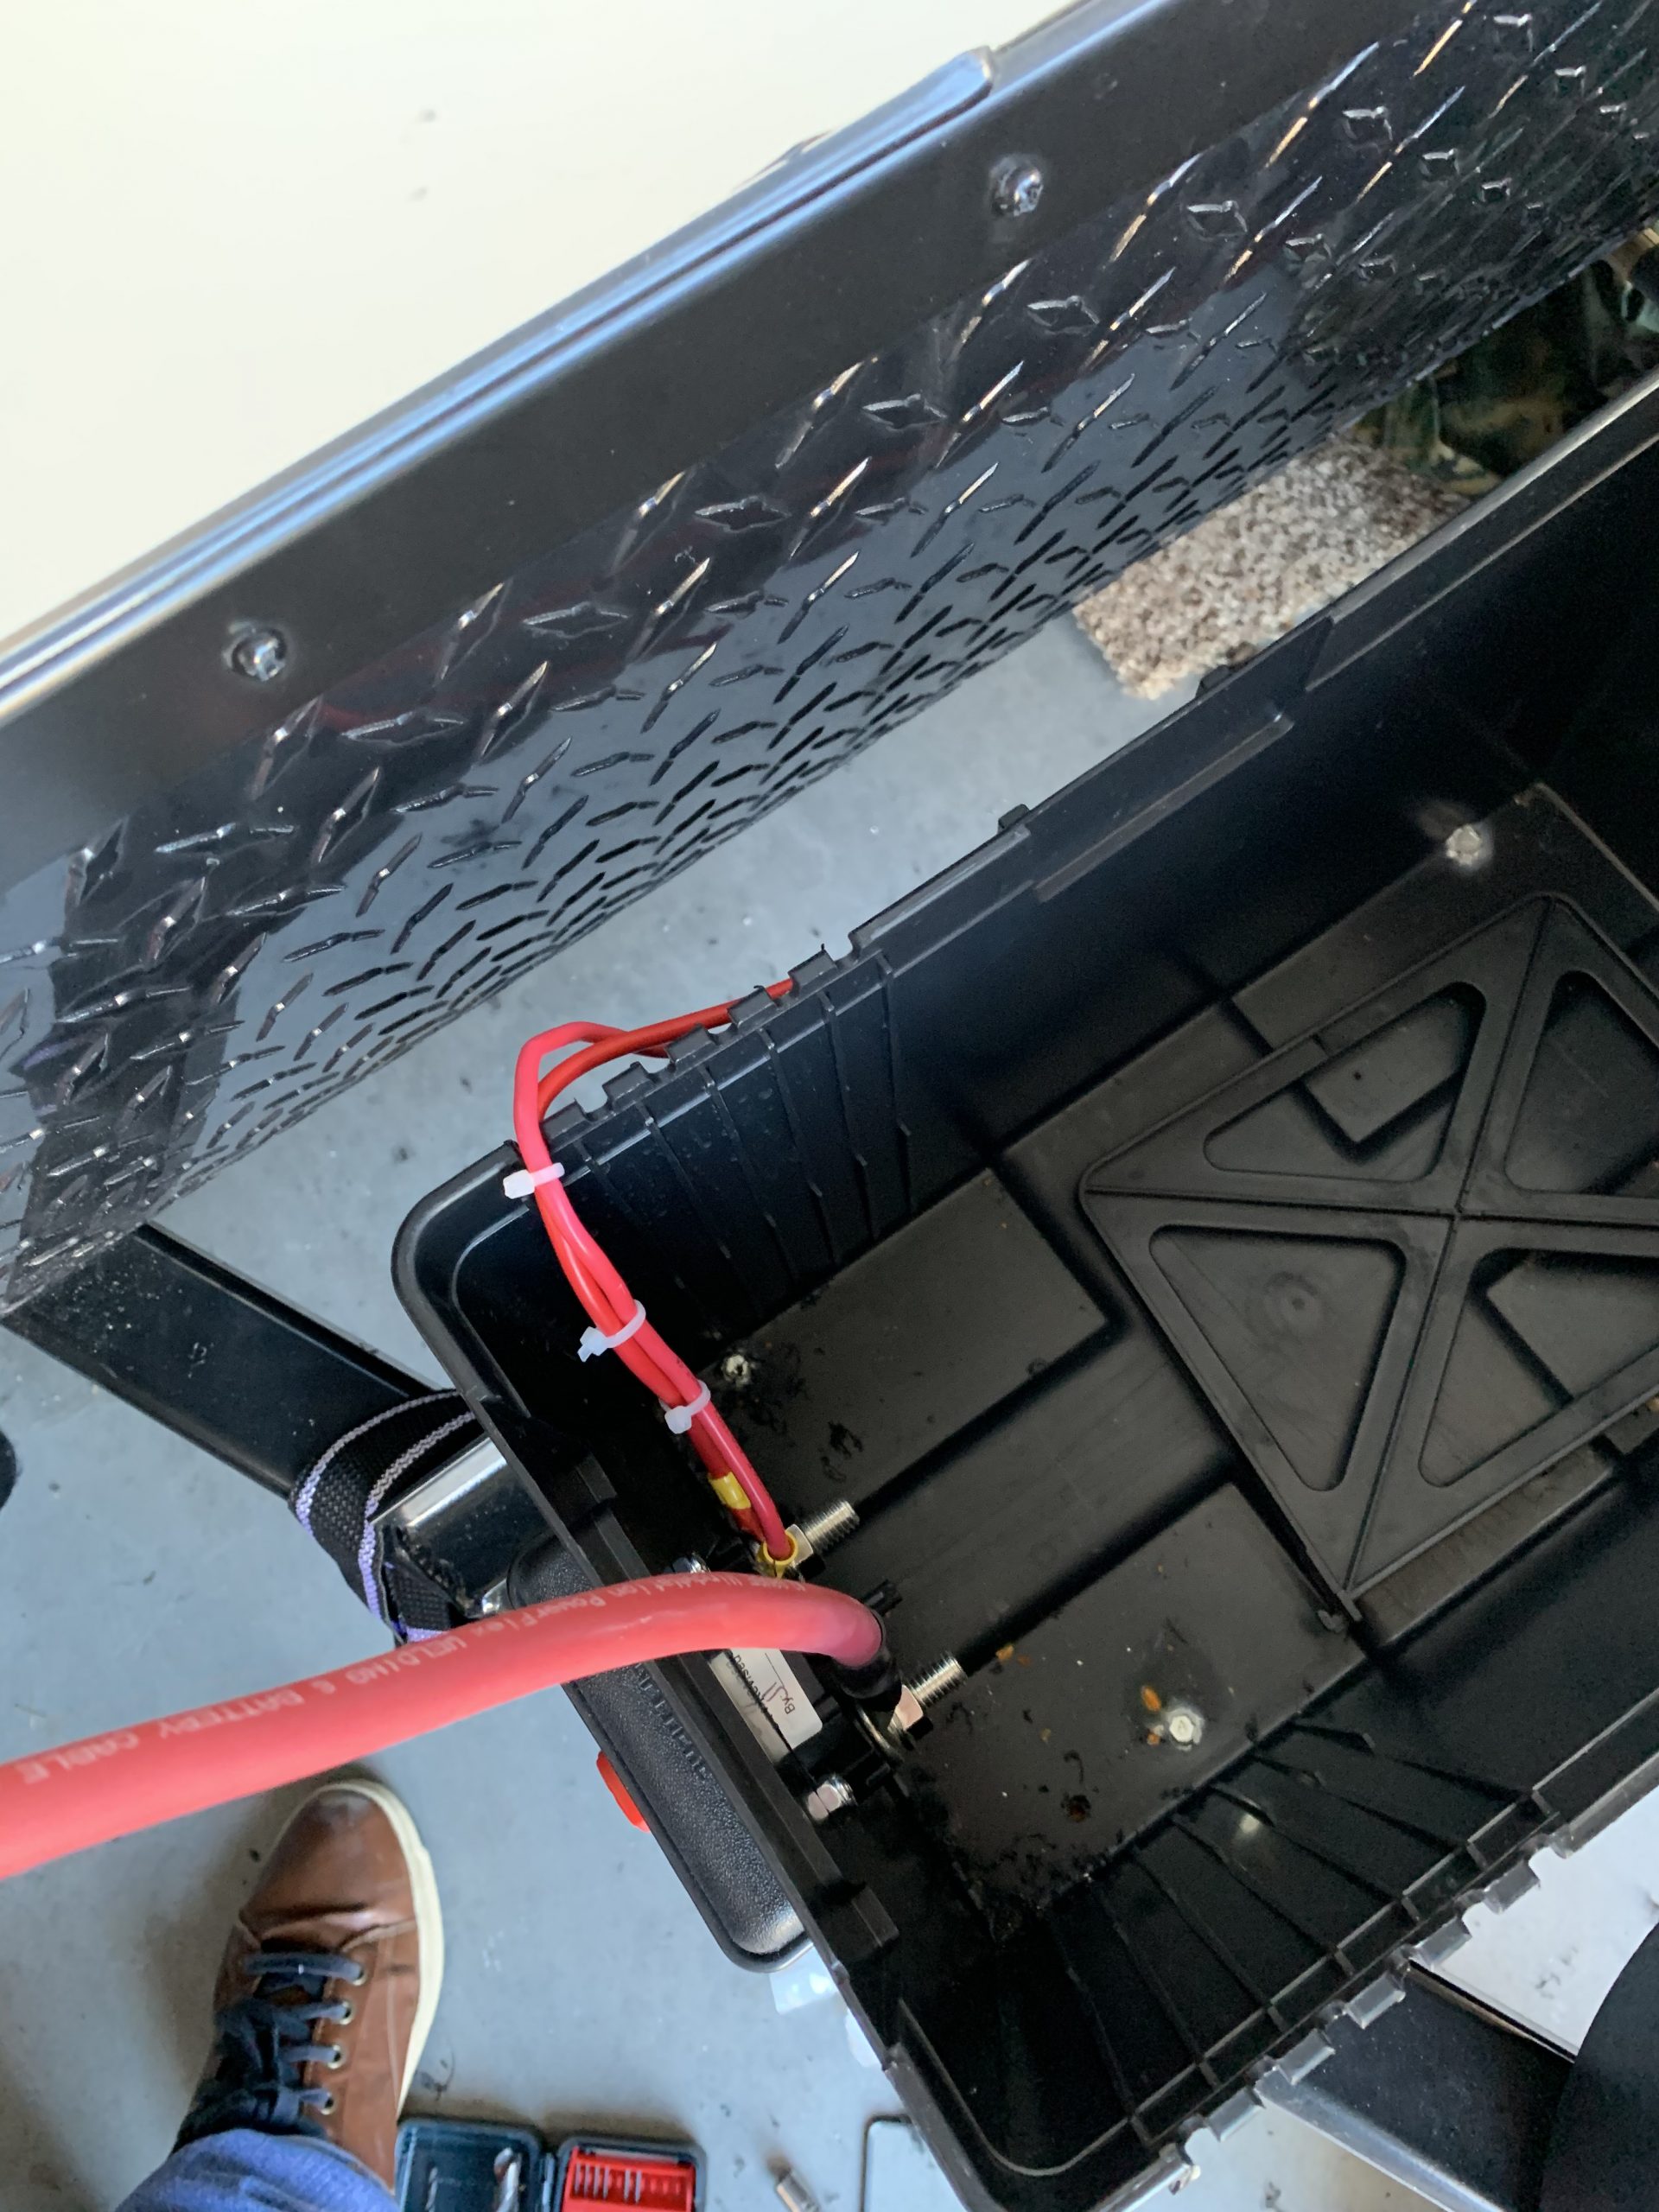
Battery Switch Wiring
And finally it looks like this:
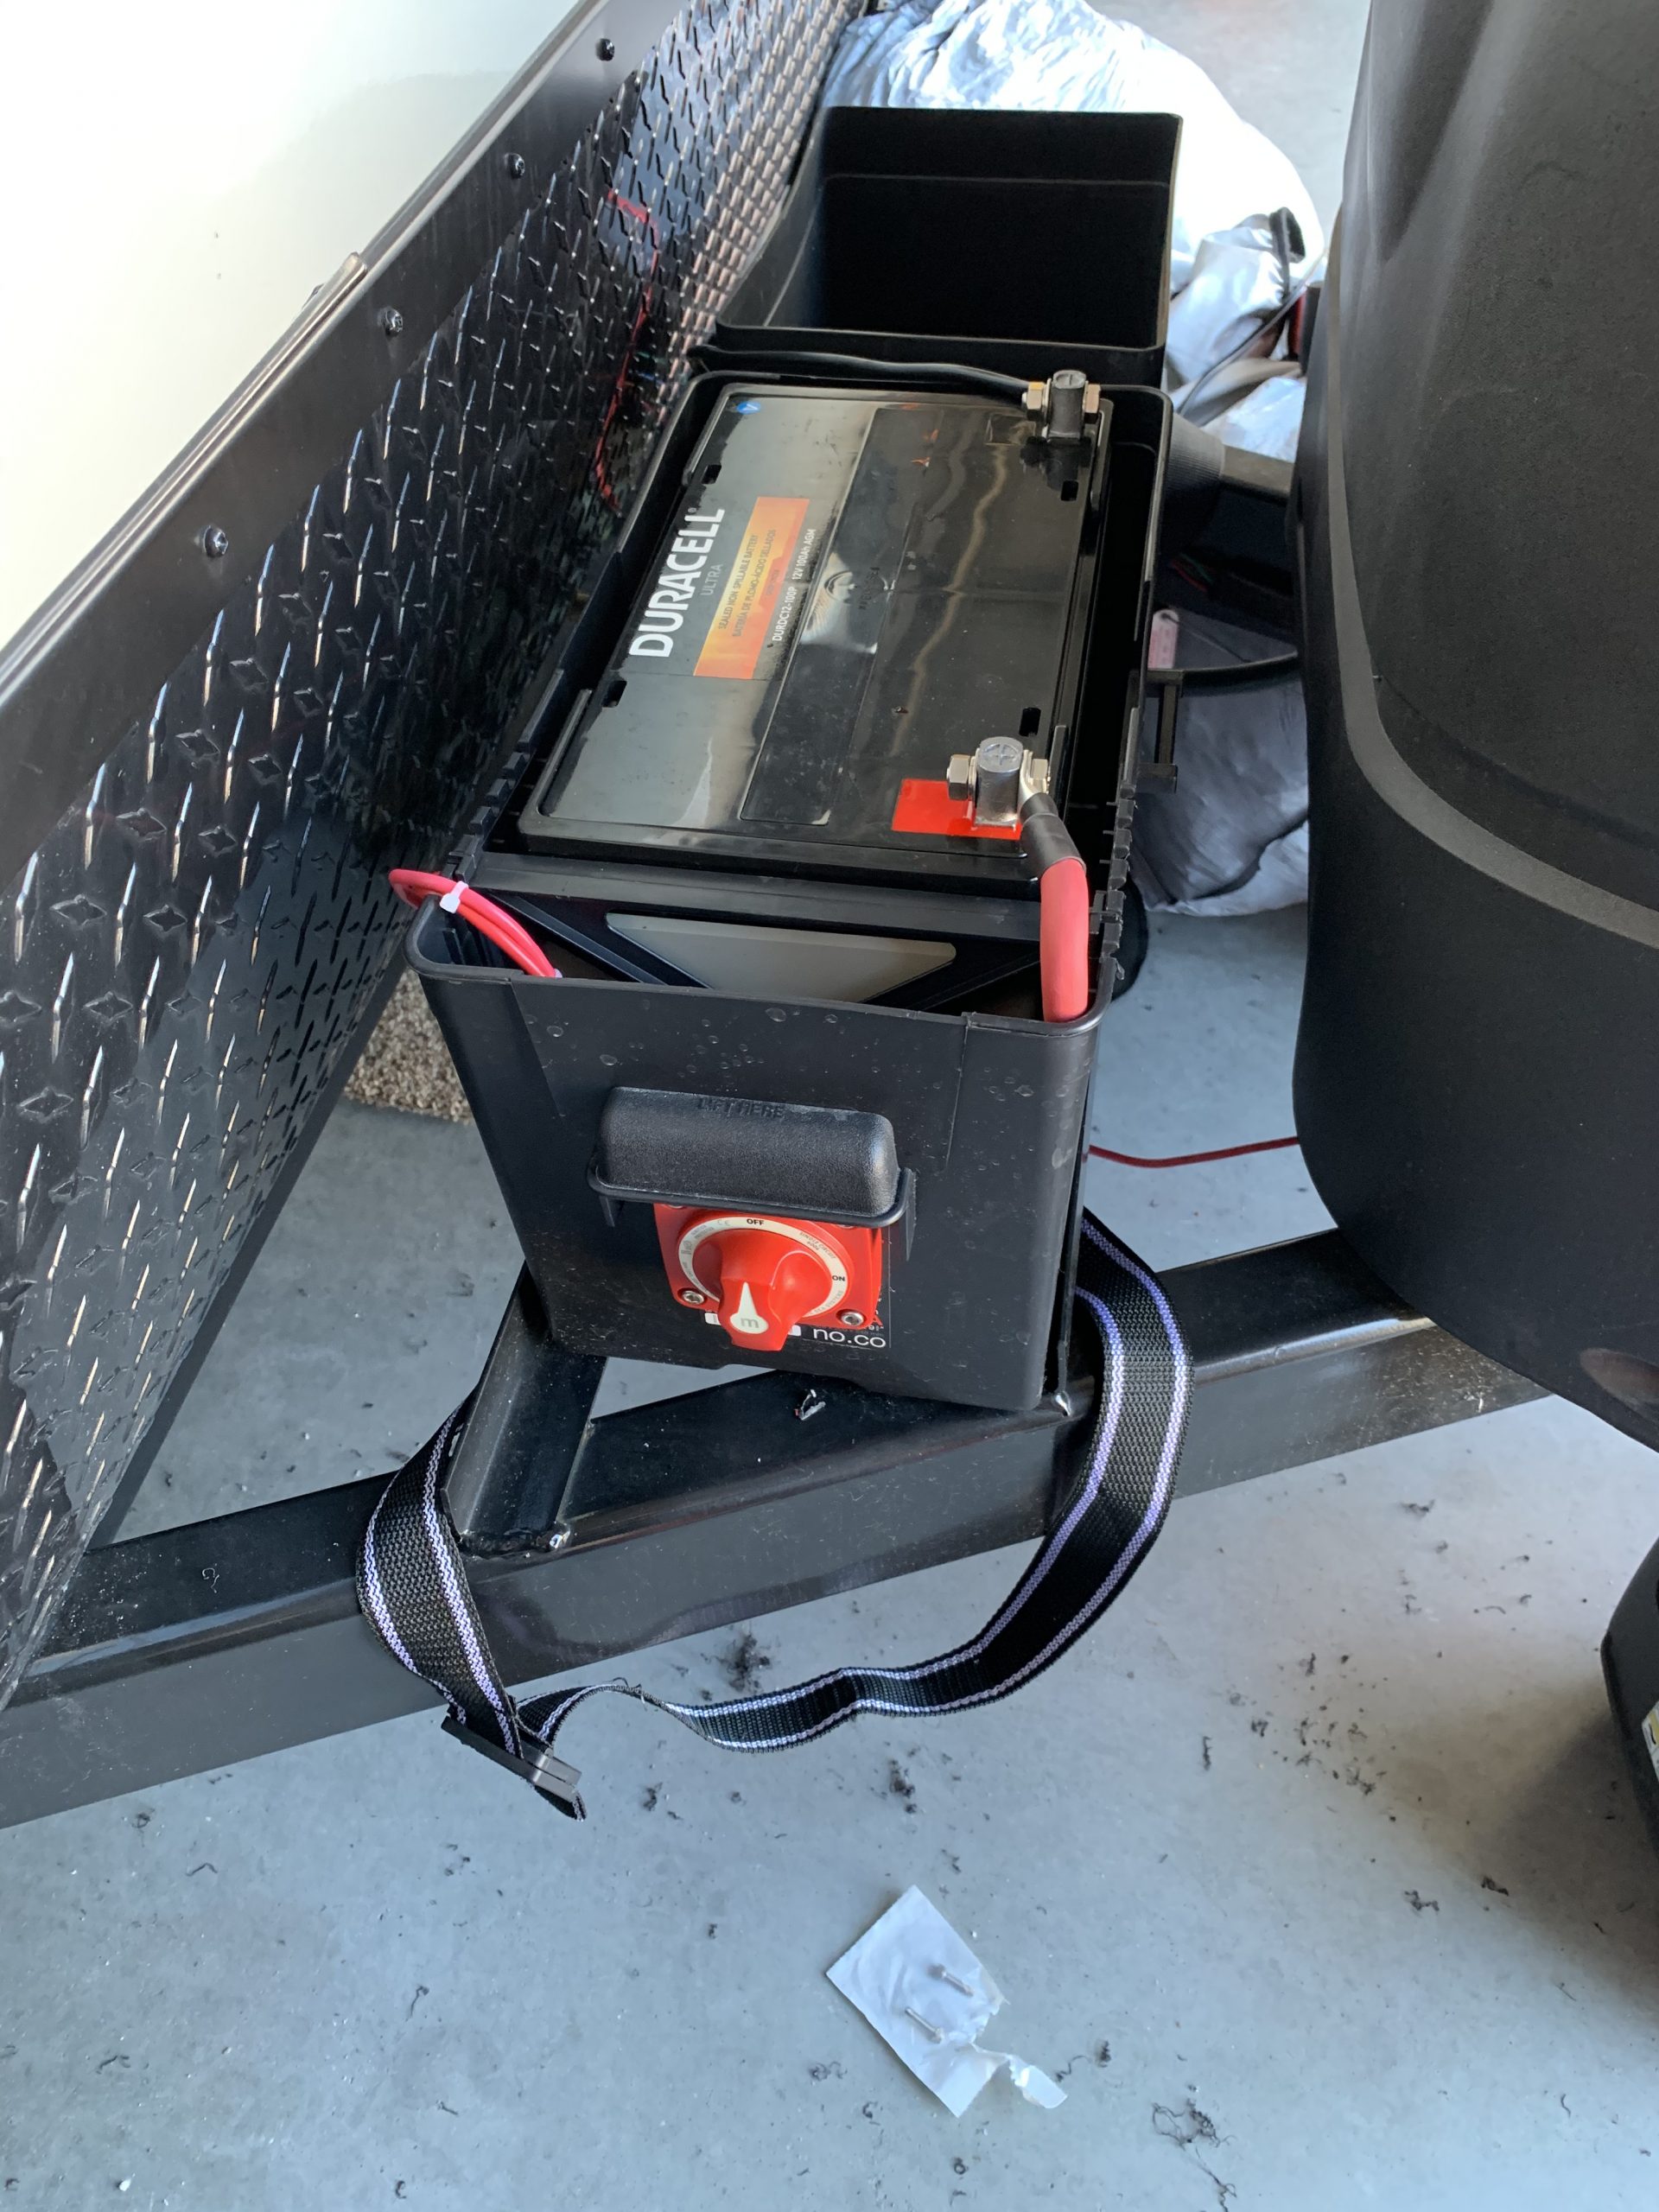
Switch Installed
And lastly I made a little video showing some of the parasitic load items and my switch solution.
I win!