
In the wonderful world of solar there are different types of storage batteries. The Lithium Iron Phosphate (LiFePO4) batteries are the smartest of all batteries with battery management systems, temperature controls which reduce the charge rate when it is really hot and stop it all together when the battery itself is below freezing. Heck I’ve seen some batteries that have USB chargers built into them.
Charge controllers are just as smart as are the battery monitoring systems and they have a myriad of settings that is tough to decode.
If you go to the Battleborn Batteries website they have components they recommend for their batteries. Seems they love the Victron stuff. Under MPPT Charge Controllers it is all Victron. Consequently their support pages have all the requisite settings for optimizing your battery charging.
Also I have found the Victron technical manuals to be pretty doggone good. All the information is out there, you just need to see it all in one place. That’s where I come in.
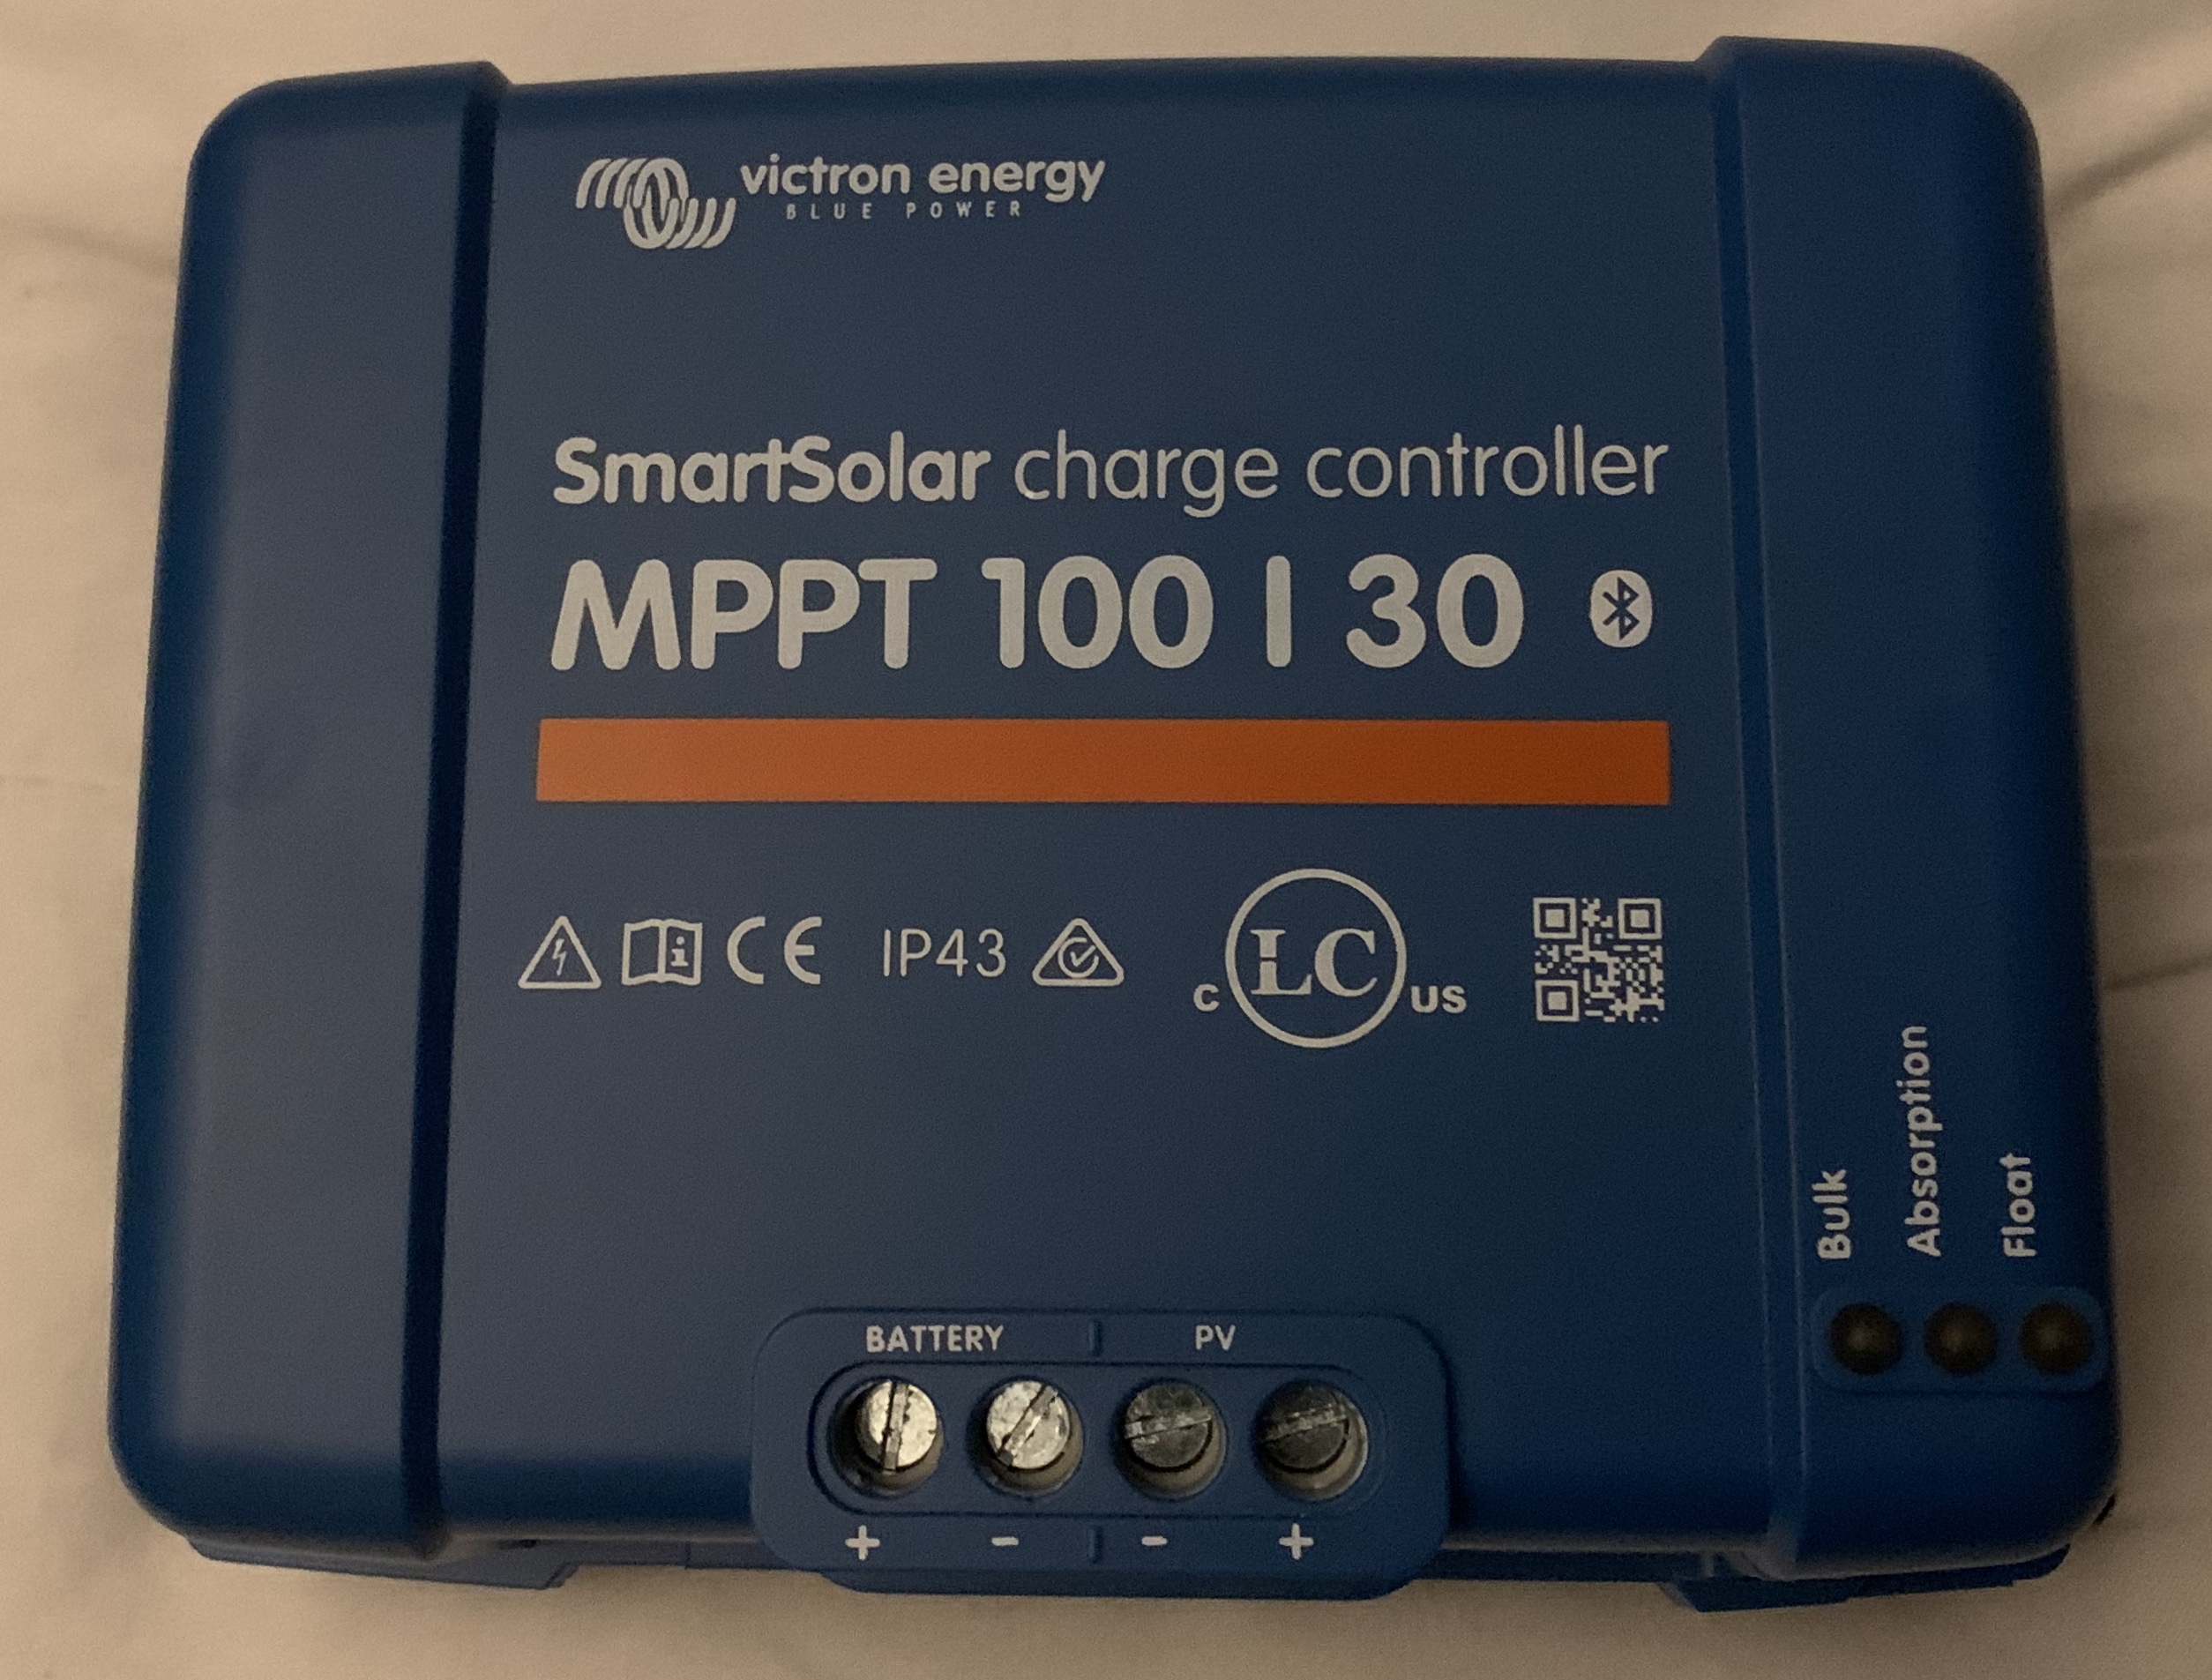
Victron Solar Charge Controller
I’ll start with the Solar Charge Controller because you have to have one of those. You don’t have to have a battery monitoring system.
The settings for the charge controller are actually pretty simple but you do have to do some fiddling around to get it set right. Nothing too bad though.
Okay, here we go. On the bottom of the charge controller is a little dial. You need a Jewelers screwdriver to make the change but get in there and set it to position 7 which is for Lithium Iron Phosphate batteries. Although it won’t be optimized for a Battleborn battery if something hiccups and resets as we all know computers and software NEVER DOES 🙄 then at least the charge parameters are set for LiFePO4.
In your VictronConnect App (IOS, Android, Mac, Windows) you connect via bluetooth and click on your charge controller.
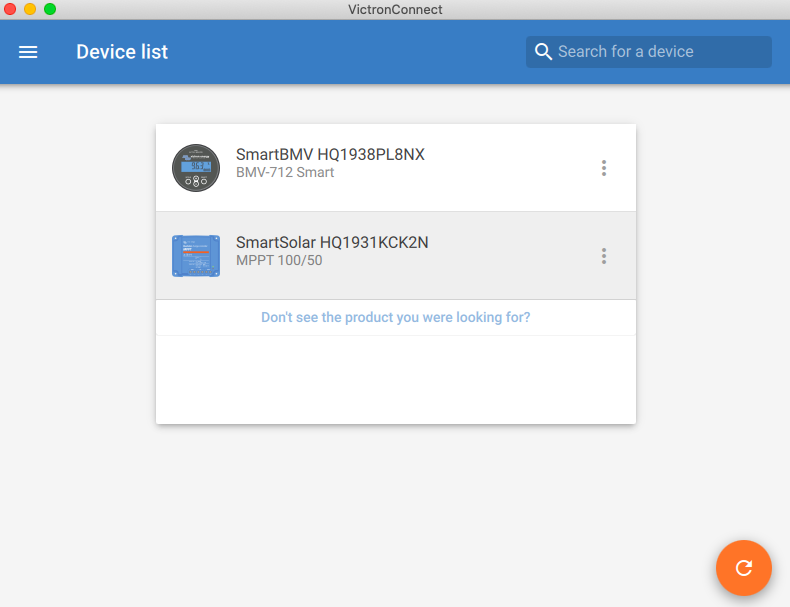
VictronConnect
Once inside click on the settings wheel in the upper right hand corner.
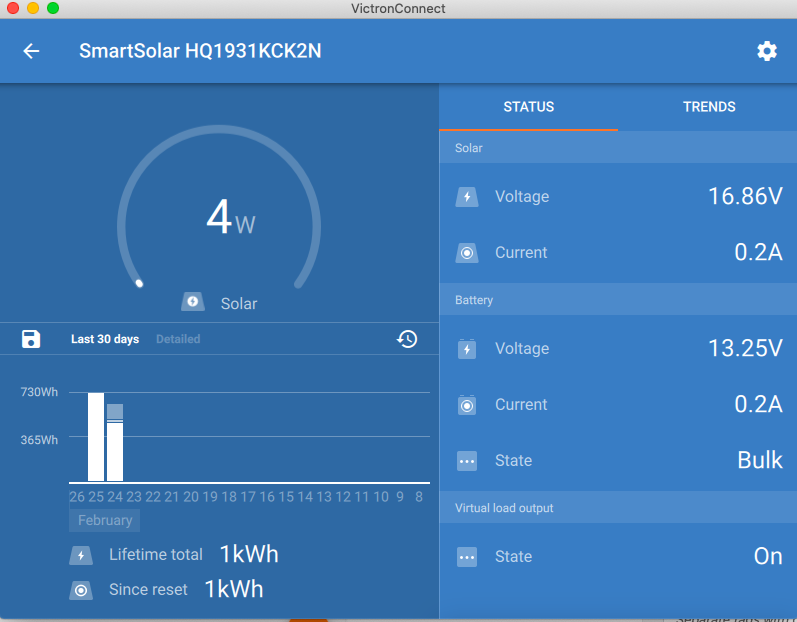
VictronConnect Charge Controller
Now select the top line that says “Battery” and your settings are right there. Change “Battery Preset from “Rotary Switch” to “User Defined“. Now set it up like this:
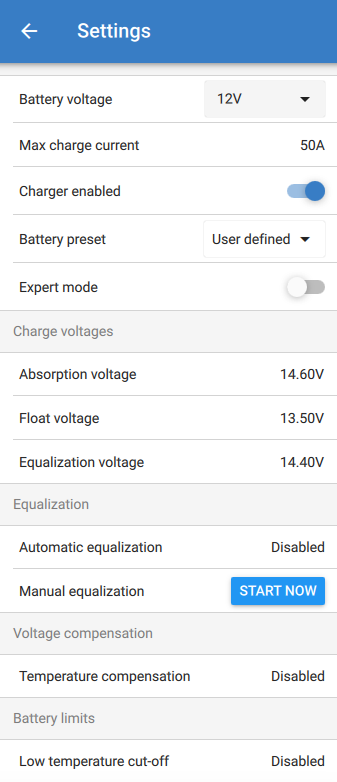
Battleborn Battery Settings for Victron
Essentially we are changing the following:
Absorption Voltage = 14.6v
Float Voltage = 13.5v
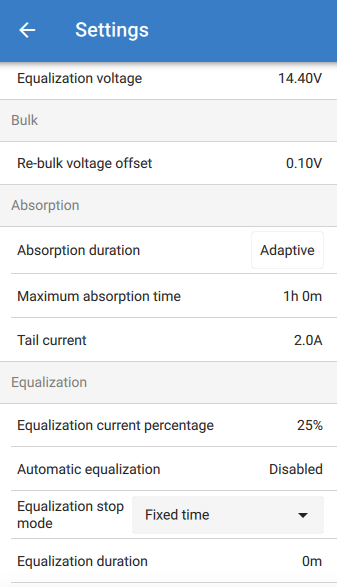
Equalization Voltage = 14.4v (We actually want Equalization Time to be set to zero. That is done under “Expert Mode“).
Automatic Equalization should be set to “Disabled” as should Temperature Compensation and Low Temperature Cut Off.
Now, lets move on.
Slide the “Expert Mode” slider over and set it up like this:
Expert Mode
Now set the Maximum absorption time to 20-30 minutes per battery that you have. I have two batteries wired in parallel so I set my time to 1 hour. Your mileage may vary.
Make sure automatic equalization is disabled.
Make sure Equalization duration is set to 0 minutes.
That’s it. You are optimized.
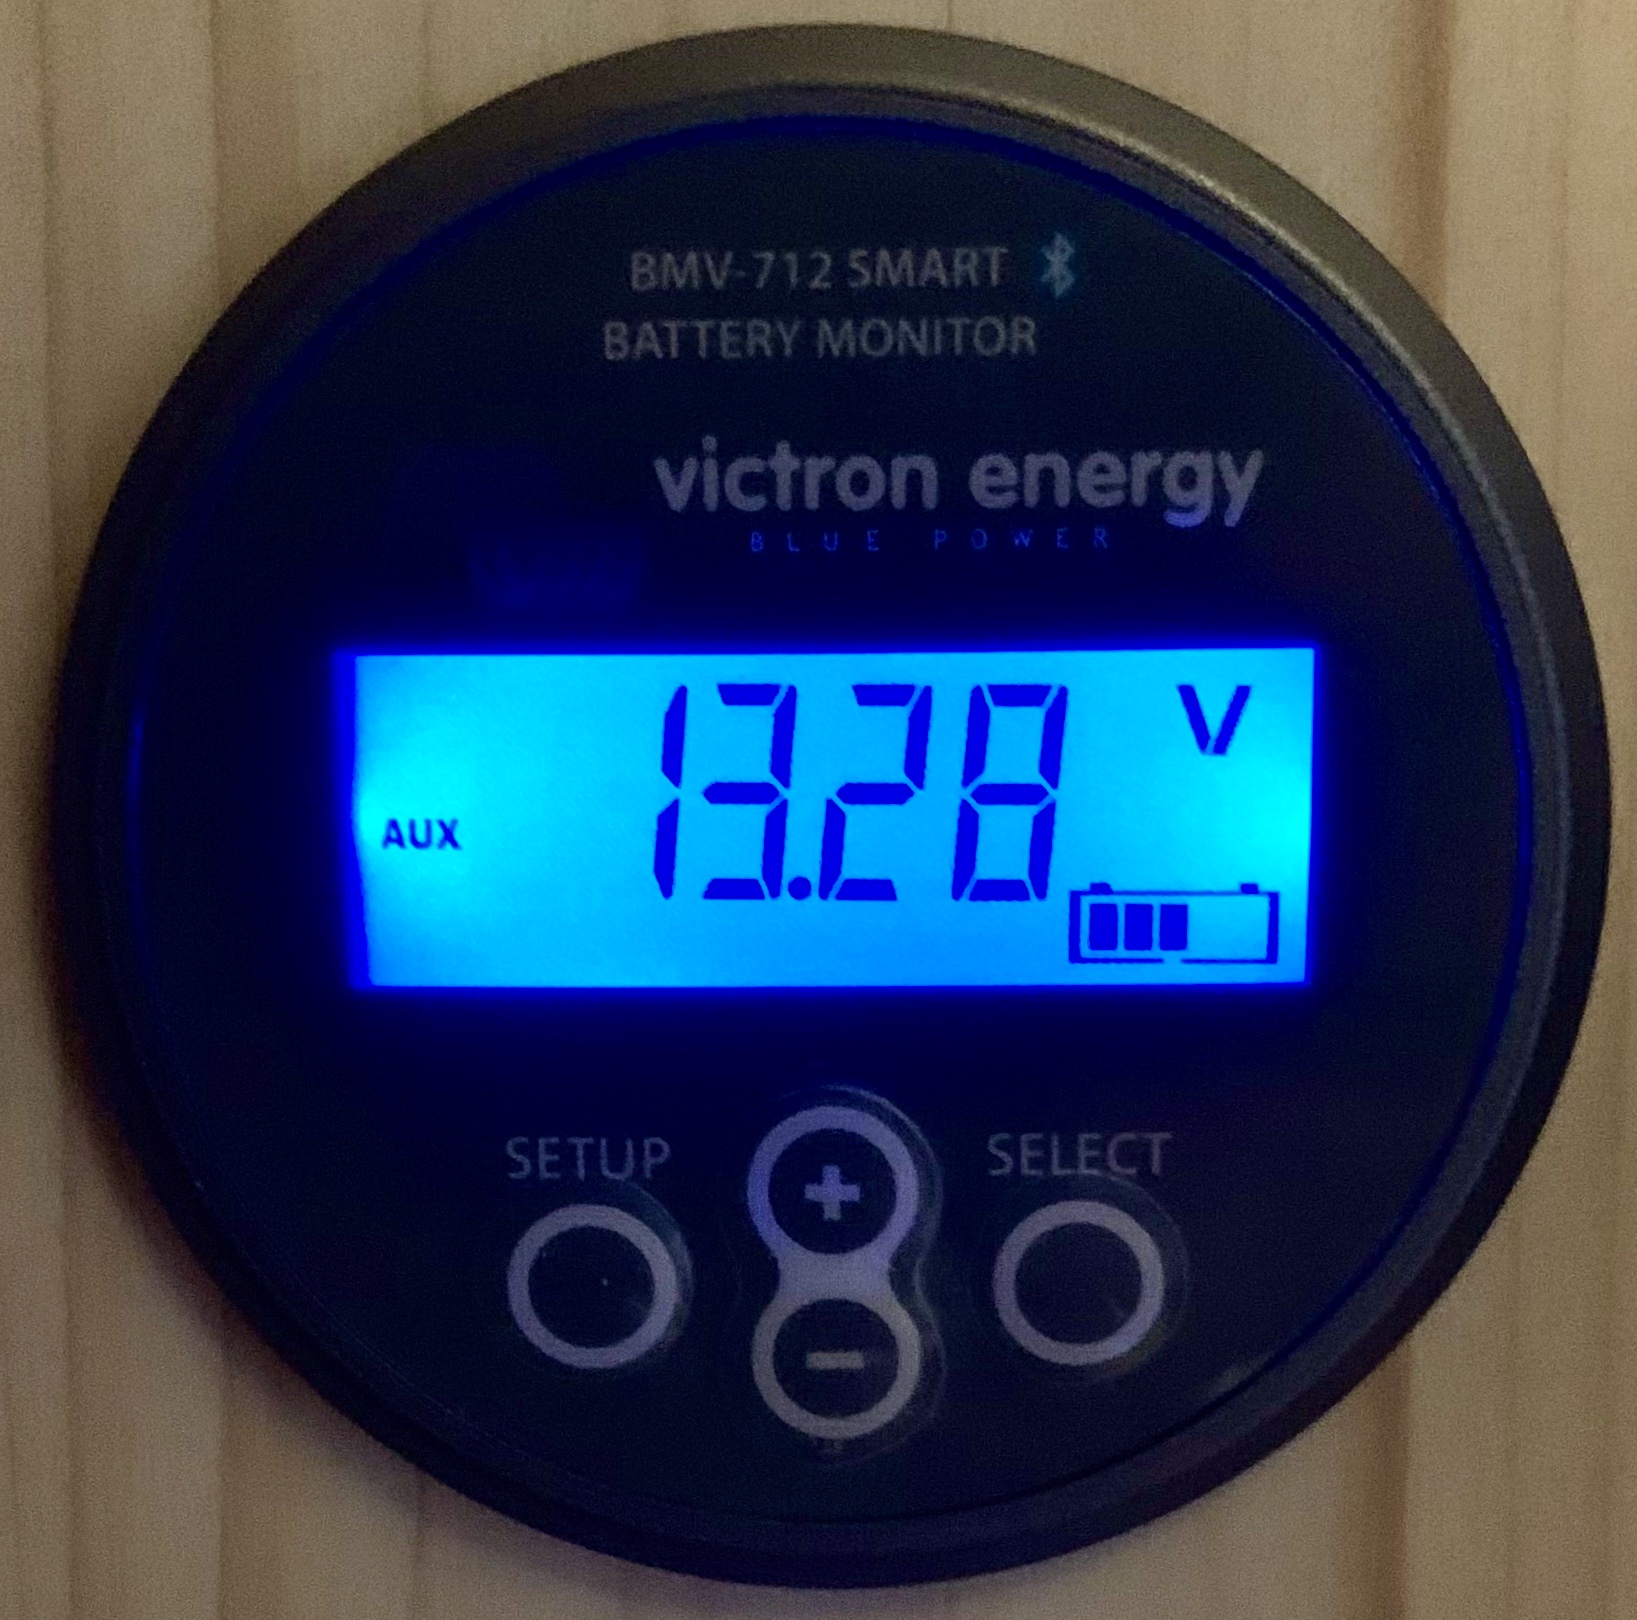
Victron BMV-712
Now for the battery monitor. This assumes it is all hooked up correctly. Open Victron Connect, connect to the BMV battery monitor. Click on the settings wheel like before and also then go into the battery settings. Here are the settings. The asterisk (*) is where the changes are to be made.
Victron BMV Battery Settings
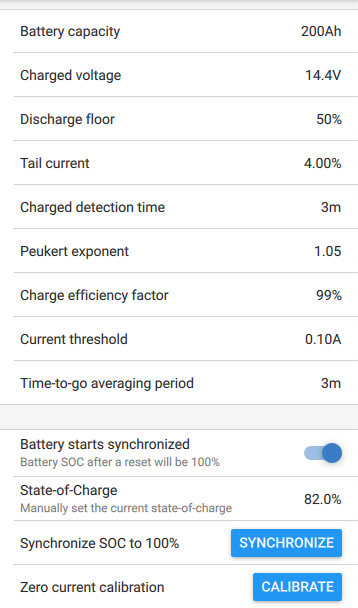
01 Battery Capacity — 99AH *
02 Charged Voltage — 14.4v *
03 Tail Current — 4.0%
04 Charged Detection — 03
05 Puekert Exponent — 1.05 *
06 Charge Efficiency Factor — 99% *
07 Current Threshold — 0.10A
08 Time to Go Averaging Period — 03
09 Synchronize — SYNC
10 Zero Current Calibration — ZERO
The one setting I am not sure about is the first one. If you have one battery which is 100 amp hours you set the “Battery Capacity” to 99 ah. My understanding is that it will prevent you from completely draining a battery and damaging it. What I don’t know is if I should set the capacity to 198 for mine or not since I have batteries in parallel. I need to get with Battleborn on that.
Oh, here’s how to do a zero current calibration on the Battery Monitor.
That’s it. Enjoy your optimized settings!
I saw this blog and it helped me set up my LiFePO4 battery but I do have one question.
Why did you set up the battery monitor with only a 50% discharge floor if you can utilize almost the entire batteries capacity since it’s a battle born?
I’ve seen others set this to as far as 100% in their settings.
I’m curious because even my batteries manufacturer sent me to your blog to obtain settings and told me to set it up exactly like you have done.