What is a Stratum 1 Time Server, you might ask? Simply put it is a network appliance that receives PRECISE time from a source such an an atomic clock or GPS Pulse Per Second (PPS).
This accurate time source is then used to provide a time resource to client computers.
Time is VERY important to computers.
Probably the most famous Stratum 1 time server is from the National Institute of Standards and Technology (NIST). They famously broadcast the time over radio, telephone, and internet. Here is an example of their shortwave radio broadcasts.
I love radios. And I especially love radios from XHDATA. Over the years I have bought quite a few of them and occasionally they send me a radio to test and review. Today I have the XHDATA D-226 ($24.99 at Amazon) on the bench.
Despite the fact they sent me this radio to review for free never have they ever tried to influence my content. What you read here is what I think about it.
Also we should factor in that although I was provided this sample I immediately purchased their brand new D-228 which is essentially the same radio with NOAA Band Weather.
I think that should indicate that I’m a radio nerd and that I’m willing to spend my own money if I see something I like.
I don’t like to call myself a Prepper but I do maintain a certain level of being prepared for challenging times. In this day and age of streaming we live and die by our smart devices. The trouble is that sometimes those smart devices don’t always work.
Case in point. I woke up the other night in the middle of the night and the internet was down. I immediately reached for my XHDATA D-226 which I had gotten just that day.
AM radio signals travel for hundreds of miles at night with much of that being talk radio and news. When everything out there quits working AM / FM and Short Wave radio are still going to work. But not for you if you don’t have a radio.
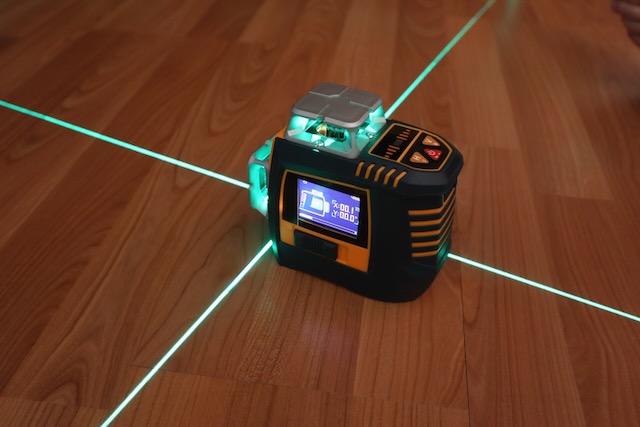
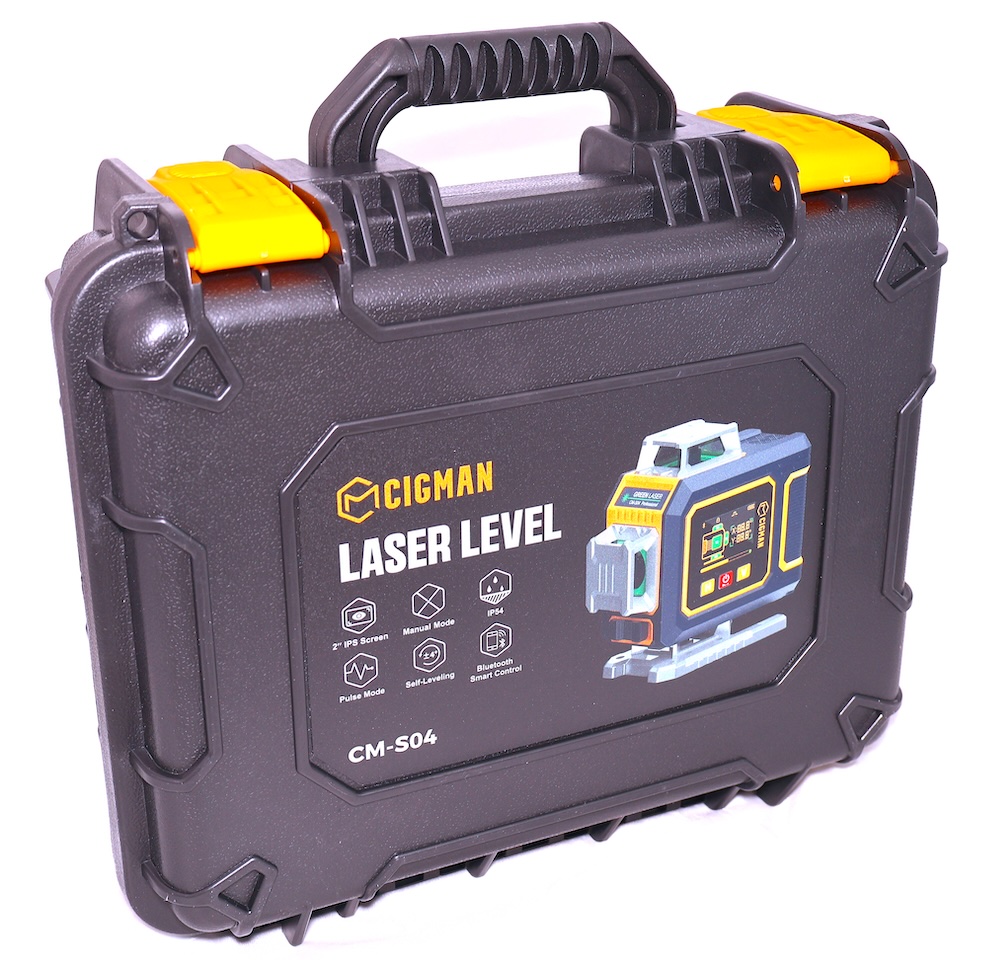
I’ve been lucky enough to review several laser levels from Cigman. I’ve found the Cigman Levels to be among the best I have ever encountered. Today we’re going to take a good look at the Cigman CM-G16 (currently $139). The actual kit they sent me was the Cigman CM-G16T ($179) which comes with a 1.42 meter high Tripod.
And towards the end of this post you’ll see where Cigman surprised me with…….well, a surprise.
You’re going to want to see this.
Right now I need to you think back about the last time you hung a picture or even a shelf. Did you ever try to hang two pictures side by side that were the same size?
And when you back up to take a look they clearly weren’t level at all.
Even better, have you ever tried to hang photos down a stairwell in an ascending or descending manner where you want some semblance that they are all on the same line or angle? How about mounting a TV on the wall with a sound bar?
Cigman CM-G16 (click pics to enlarge)
The photo on the left shows the television alignment and the picture on the right depicts getting the sound bar straight. You know you need this tool around your house.
Just a little bit less than 4 years I got an email from xTool asking me if I would review their then Flag Ship Laser Engraver, the xTool D1 Pro 20 watt. Since that time I have reviewed some more items for them, all of which were innovative. In fact I used to tell my Point of Contact there how stunned I was at their innovation. The xTool engineers always have been ingenious and as they said in the movie Apollo 13, “You Sir are a Steely Eyed Missile Man”.
The engineers at xTool are indeed Steely Eyed Missile Men.
Now I have caught wind of their latest innovation which they are calling the X1. The X1 is a combined 20 watt diode laser AND a 55 watt CO² Laser. If that isn’t enough you can perform modular upgrades to include a 30 watt fiber laser, a 60 watt MOPA laser and, get this, a 5W UV laser.
Let’s unpack this a minute. In my workshop I have a fiber laser, a CO2 laser, a diode laser, and a couple of IR lasers. This occupies a lot of real estate in my hobby room.
Now I can perform all those functions and more in a large format enclosure AND DO IT AT HIGHER SPEEDS.
These higher speeds are achieved by taking normal X and Y gantry movements and mixing them with high speed galvo movements in a four axis motion that they call Hybrid Motion.
Did I mention xTool was innovative?
One of the best parts of this is their Unicast Frame Design. The first lasers to hit the streets had dozens of parts and installation was generally not that fun. The Unicast Frame has just three die cast pieces.
Software too!
The greatest hardware needs great software or the implementation will always end up short. Atomm is the intelligent digital engine for this amazing new hardware.
The Best Part Of All
I get to review and test one! So you’ll be seeing plenty more about the xTool X1 right here! Stay tuned!
To be honest I don’t really use Tailscale. I have the client downloaded on several devices and I usually only enable them when I leave the house for a day or two. Kind of a backup to using my VPN server to access my network. After a big update to OPNSense I noticed that I could not install Tailscale on my TrueNAS device. I kept getting Tailscale Control Panel not found in the installation logs.
This blog is mostly just for me to remember the fix in the event it happens again.
My OPNSense Intrusion Detection viewed the Tailscale Control Panel (they call it Pane or Plane as well) as an Emerging Threat (ET).
What you do is go to Service > Intrusion Detection > Administration > Then the Rules Tab. Then search for Emerging Threat (ET) SID 2071648:
Then make sure the enabled box in the lower right hand corner is unchecked.
And then, by golly, things start working again.
That’s it. Hope that is helpful for anyone else not being able to get Tailscale to work from behind an OPNSense Firewall.
I’ve been using Home Assistant for years. In my opinion it is the best platform for home automation. My hardware of choice was a Raspberry Pi hooked to ethernet.
No more.
Not because it doesn’t work but because I found an easier and more reliable way to install and maintain it.
Believe me when I say I am not knocking you if you are using a Pi, or a laptop, or a mini computer or some other hardware. My installations served me well for years.
Until something went wrong. Then I would have to erase the SD card in my Pi, and then reinstall Home Assistant. Additionally, I would have to restore a backup. All that took time. Like “drink a cup or two of coffee” time.
What if I told you there was a better way? Read on.
I love Linux. I cut my teeth on Red Hat 4 around 2005 or so. It was so large I had to buy a box set from the Exchange in Okinawa Japan. Since that time I have tried a metric ton of distros over the years. Today I’ll focus on CachyOS.
CachyOS is based on Arch Linux which is something I dabbled with years ago. Arch was tough to get going but I managed.
I drifted towards a distro called ArchBang which was cool. But as my Linux journey evolved I found that while Arch was cutting edge it didn’t support some of the programs that I wanted to use.
So I drifted away from Arch and landed smack dab in Ubuntu and Debian based distributions. One of my favorite websites to check in on Linux is distrowatch.com. For quite a while now I have seen that LinuxMint was toppled as the number one page hit ranking distro by none other than CachyOS.
So what’s a geek to do? Why download and install it of course.
Right after the Leica M8 was released in 2006 I bought one. Even back then I was dabbling with tethering cameras to a computer and the advantages of that process. Leica M8 tethering just wasn’t as problem free as I thought it would be.
Back then Windows XP was the operating system of choice for most. Leica had a hunk of software called Digital Capture but kind of sort of abandoned it quickly.
In the camera tethering world usually someone else picks up the slack. Not in this case. Capture One doesn’t support it and neither does Adobe Lightroom. Open source software such as Darktable or Entangle don’t get the job done either.
Casio GG-1000 – Calibrate Watch Hands After Battery Change
I own a Casio G-Shock GG-1000 Mudmaster and dug it out yesterday only to find out the battery was dead. I just so happened to have a couple of 395 batteries and opened up the case to change them.
That went well and I put the Mudmaster back together. When I went to set the time that also went well, however, the procedure is to set the time digitally and when you are done the analog hands move into place to reflect the right time.
If they don’t then you need to calibrate the watch hands by using something called H-Set.
That will put the second hand, the hour hand, and the minute hand pointing straight up to 12 o’clock.
Only mine didn’t do that. The hour hand on mine went to 6 o’clock while the other two hands did what they were supposed to do.
I’ve reviewed quite a few laser engravers on this blog. Recently, TOOCAA reached out to me and asked me to review their new TOOCAA NOVA Smart Home Laser Engraver.
Two years ago I reviewed the TOOCAA L2 Laser Engraver for them. That review can be found here.
I found that to be a good machine and I passed it along to a good friend of mine who uses it to this day. To sum it up, I have had good experiences with TOOCAA. Also, it needs to be stated that they provided me the TOOCAA NOVA to review and have in no way attempted to influence any kind of editorial control at all. What you read here will reflect my thoughts and my thoughts alone.